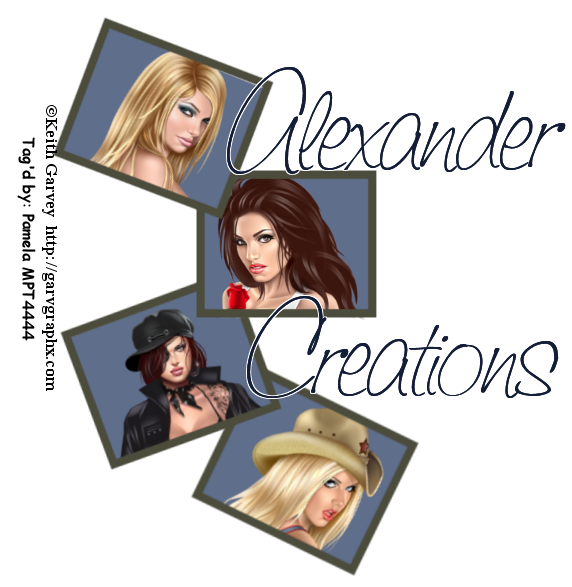
You need a basic knowledge of PSP. I made this using PSPx2 but any version should work.
Supplies:
Tube of choice. I am using the beautiful work of Jamie Kidd. Please do not use his/her work without a proper license. You can find his/her work HERE.
Tube of choice. I am using the beautiful work of Jamie Kidd. Please do not use his/her work without a proper license. You can find his/her work HERE.
My Template 3, you can download it HERE.
Scrapkit if your choice. I used a paper from a scrapkit by Designs by Kelly. However, I can not find her work anymore. So I will substitute a color for the paper in this tutorial.
Font of Choice. I used Alba, which you can find HERE.
Font of Choice. I used Alba, which you can find HERE.
Mask of Choice, I used WSL_Mask127.
Ok, First open my template #3 and delete the copyright layer and background (if you like).
Ok, First open my template #3 and delete the copyright layer and background (if you like).
Select the black rectangle layer. Select All>Float>Defloat>New Raster Layer, flood fill with #53e3f3. Select None.
Next, select one of the grey squares. Select All>Float>Defloat>New Raster Layer, Flood fill with colr #754ad9. Select None.
Repeat with other 2 squares.
Repeat with other 2 squares.
Now, select the thin black rectangle. Select All>Float>Defloat>New Raster Layer, Flood fill with same color as above #754ad9. Select None.
Select the Long thin grey rectangle. Select all>Float>Defloat>Ne Raster Layer and flood fill with color #53e3f3. Select None
Copy your tube and Paste as New Layer. Resize, and position under long white rectangle frame. See mine.
Now take key features of your tube and copy and Paste as a New layer over under each square frame. See mine.
Select the word art layer. Select All>Float>Defloat>New Raster Layer, flood fill with #6498ef. Select>Modify>Expand by 2, New Raster Layer and flood fill with black, move this layer under the word art layer.
Now for the suns, Select All>Float>Defloat>New Raster Layer and flood fill with #f4f3a8 or a color of your choice.
New Raster Layer and fill it with #53e3f3 and move to the bottom. Layers>Load/save mask>Load mask from disk, delete, yes when it asks.
Now add a name and any copyrights and your name.
And your done.


No comments:
Post a Comment